Hello everybody, welcome to our recipe site, If you're looking for new recipes to try this weekend, look no further! We provide you only the best Authentic Homemade Miso recipe here. We also have wide variety of recipes to try.
Before you jump to Authentic Homemade Miso recipe, you may want to read this short interesting healthy tips about Wholesome Energy Goodies.
We are all aware that consuming healthy snacks can help us feel better within our bodies. We are likely to feel way less gross whenever we increase our consumption of healthy foods and decrease our consumption of processed foods. A little bit of pizza doesn’t have you feeling as healthy as ingesting a fresh green salad. Sometimes it’s hard to find wholesome foods for snacks between meals. Finding snacks that help us feel better and increase our stamina often involves lots of shopping and scrupulous reading of labels. Here are a few healthy snacks that you can use when you need an instant pick me up.
Healthy foods made from whole grains are excellent for a quick snack. A bit of whole wheat toast, for example is a great snack in the morning hours. Chips and crackers produced from whole grains can be great for quick snack foods to eat on the go. Make the change from refined products including white bread to the healthier whole grain alternatives.
There are lots of healthy treats you can choose that don’t involve a lot of preparation or searching. Deciding to live a healthy lifestyle can be as simple as you want it to be.
We hope you got insight from reading it, now let’s go back to authentic homemade miso recipe. To cook authentic homemade miso you need 4 ingredients and 19 steps. Here is how you do that.
The ingredients needed to make Authentic Homemade Miso:
- Get 1 kg Soy beans
- Prepare 1 kg Koji (dried or fresh)
- Use 500 grams Salt
- Take 2 Red chili peppers (optional)
Instructions to make Authentic Homemade Miso:
- Rinse the soy beans, then soak them in plenty of water overnight (for a 24 hour period). The soy beans will triple in size from rehydrating, so be sure to use a large pot.
- Here is what they should look like after soaking. Depending on the soy bean, scum may appear, but without removing the scum, set the pot to boil (do not refresh the water).
- Bring to a boil over high heat, then reduce to the lowest setting. Skim the scum and simmer until the soy beans can be slightly crushed between your fingers (this should take anywhere from 3 to 8 hours).
- This is how it should look after skimming off the scum from the surface. Do not bother to remove it too carefully; just skim enough to remove the majority of it.
- Test by crushing a soy bean between your fingers, and if it can be slightly crushed, turn off the heat, cover with a lid, then let sit overnight.
- Return the pot to heat and simmer for about 30 minutes over low heat. They are now ready to be turned into miso.
- Prepare the necessary ingredients and equipment: 2 bowls or pots, a 10-liter pickling tub, 2 large food-grade plastic bags, and a potato masher.
- While simmering the soy beans, break up the koji into small pieces, then combine with the salt.
- Line the pickling tub with a double layer of the food-grade plastic bags.
- Mash the soy beans (to your desired consistency) with a potato masher while still hot . Do not discard the boiling water from the soy beans.
- This is what the soy beans look like after they are mashed (I mashed them to a miso-like consistency). For easy mashing, use a meat grinder, if available.
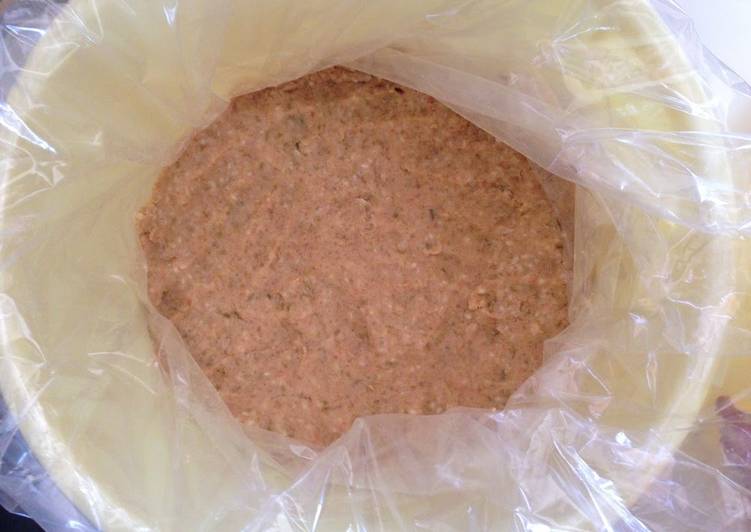
- Once the soy beans have cooled to the touch, mix in the koji. Then, mix in the boiling water from the soy beans until the consistency resembles miso paste.
- Pack the miso into patties, as though making hamburger patties, while pressing out any air pockets.
- Slam the miso patties into the tub as hard as you can, and after several handfuls, press out the air and level the surface, then repeat.
- Level the surface while pressing out the air, and very lightly sprinkle with salt.
- To the extent possible, press the excess air from the inner bag and tie it closed with string.
- Place a drop lid on top, then weigh the miso down with a weight equivalent to the weight of the beans. If you don't have a weight, use a bag of salt. The key is to press down on the miso with substantial weight.
- Press out any air, and secure the outer plastic bag with a string. If you have red chili peppers, place them inside the outer bag to inhibit mold growth. You could also use shichimi (7 season chili spice mix) spice.
- Cover the outside of the bucket to prevent dust from entering. Store it in a cool, unheated environment. Every 2 months, stir it up, and taste until it reaches the desired degree of fermentation.
If you find this Authentic Homemade Miso recipe valuable please share it to your good friends or family, thank you and good luck.